
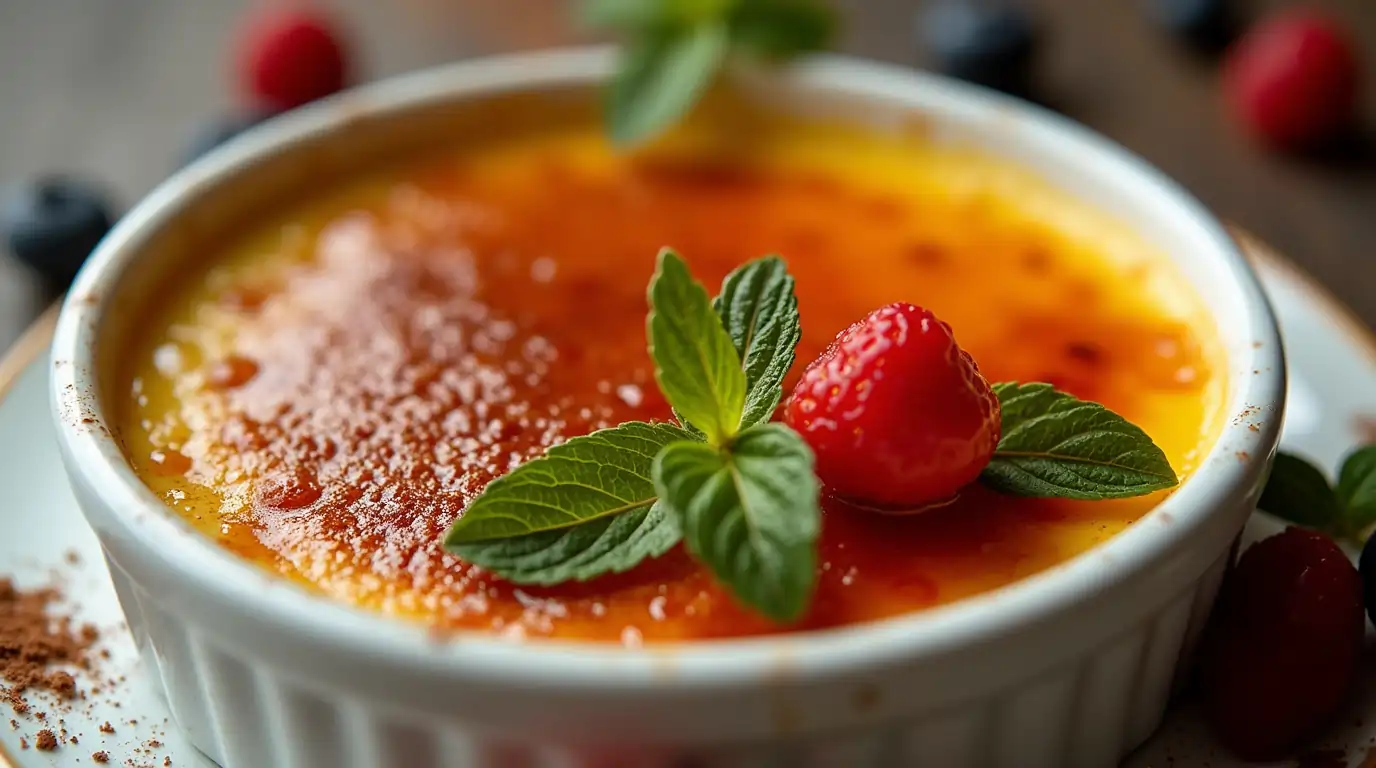
The perfectly torched top of crème brûlée is what transforms this classic dessert into a showstopper. This golden, caramelized layer isn’t just visually stunning—it’s the defining feature that makes every bite unforgettable. With its delicate crunch and smoky-sweet flavor, the top creates a perfect contrast to the smooth, creamy custard beneath, offering a delightful balance of textures and tastes.
But achieving this flawless crust is no easy feat. It takes precision, the right tools, and a bit of know-how to create a caramelized sugar layer that’s evenly golden and perfectly brittle. In this blog post, we’ll explore the secrets behind mastering the top of crème brûlée, from choosing the best sugar to mastering the torching technique. Let’s dive in and unlock the key to creating this signature dessert feature!
Table of Contents
What Makes the Perfectly Torched Top of Crème Brûlée?
The Role of Caramelized Sugar
Caramelization is key to achieving the perfectly torched top of crème brûlée. When sugar is heated, it breaks down into glucose and fructose, creating a rich, golden color and a deep, caramelized flavor. This process forms the signature crunchy crust that contrasts with the smooth custard beneath. The Maillard reaction, which occurs during caramelization, adds a smoky-sweet depth to the sugar, enhancing the dessert’s overall flavor.
Without caramelization, crème brûlée would lack its signature texture and flavor, making the dessert less memorable. The crispy, glassy top not only offers a satisfying crunch but also balances the sweetness of the custard with a slight bitterness, creating a harmonious flavor profile.
Texture and Flavor Balance
The magic of crème brûlée lies in the balance between its smooth, creamy custard and the golden, crunchy caramelized sugar top. The custard is rich and velvety, offering a delicate sweetness, while the caramelized top is crispy, sweet, and slightly bitter, creating a satisfying contrast in both texture and flavor. The crunchy top provides a delightful crack when tapped with a spoon, enhancing the experience. This balance of smooth and crunchy, sweet and slightly bitter, ensures that each bite is indulgent and harmonious, making crème brûlée a truly memorable dessert.
The Perfect Caramelization Process
Caramelization is key to creating the perfectly torched top of crème brûlée. It begins when sugar is heated to around 320°F (160°C), causing it to break down into glucose and fructose. As the sugar melts and continues to heat, it takes on a golden color and develops rich, sweet, and slightly bitter flavors. Achieving even caramelization is crucial—too much heat can burn the sugar, leading to a bitter taste.
When torched over the custard, the sugar melts and forms a thin, crispy layer that hardens as it cools. This caramelized top enhances the dessert’s flavor and texture, offering a sweet contrast to the smooth custard beneath and creating that satisfying crack when you tap it with a spoon.
Choosing the Best Sugar for a Perfectly Torched Top
Granulated Sugar vs. Other Types
Granulated sugar is the ideal choice for creating the perfectly torched top of crème brûlée because of its fine, consistent texture and ability to melt evenly. It caramelizes smoothly, forming a golden, crisp layer without clumping or burning. Other sugars, like brown sugar, contain moisture and molasses, which can lead to a sticky or uneven crust. Powdered sugar has added cornstarch, which can interfere with even caramelization, while raw sugar’s larger crystals melt unevenly. Granulated sugar’s properties ensure a flawless, crunchy, and glossy finish for the perfect brûlée top.
Raw or Brown Sugar Alternatives
While granulated sugar is the ideal choice for the perfectly torched top of crème brûlée, alternatives like raw and brown sugar can add unique flavors but come with challenges.
- Raw Sugar
- Pros: Adds a richer flavor with a subtle caramel-like aroma.
- Cons: Larger crystals take longer to melt, leading to uneven caramelization and a rougher texture.
- Brown Sugar
- Pros: Adds depth and a warm, caramel flavor.
- Cons: Contains moisture, preventing a crisp, smooth caramelized layer and creating a sticky texture.
- Other Alternatives
- Coconut and Maple Sugars: These can add interesting flavors but may not caramelize well, resulting in a darker or softer top.
- Powdered Sugar: Contains cornstarch that interferes with caramelization, leading to an uneven and grainy texture.
How Much Sugar to Use for the Perfect Crust
To achieve the perfectly torched top of crème brûlée, use about 1 to 2 teaspoons of granulated sugar per ramekin, depending on size. Spread the sugar evenly using a spoon or fine mesh sieve to ensure a thin, uniform layer. Avoid sugar piles or gaps, as they can lead to uneven caramelization. After sprinkling, gently tap the sugar down with the back of a spoon to level it. Keep the sugar layer thin but sufficient to create a crisp, golden top. The key is balance—too much sugar can result in burning, while too little will leave the crust underwhelming.
Mastering the Torching Technique for Crème Brûlée
Why a Kitchen Torch is Essential
A kitchen torch is crucial for creating the perfectly torched top of crème brûlée due to its precision and control. Unlike broilers or ovens, a blowtorch allows you to direct the flame exactly where it’s needed, ensuring even caramelization without affecting the custard. It’s faster, more efficient, and provides control over the browning level, allowing you to customize the crispness of the sugar top. Additionally, a kitchen torch is ideal for small batches, ensuring consistent results across individual servings.
Step-by-Step Guide to Torching
- Prepare the Crème Brûlée: Chill the custard for at least 2 hours and dry the surface before torching.
- Add the Sugar: Sprinkle a thin, even layer of granulated sugar (1-2 teaspoons per ramekin) over the custard, leveling it with the back of a spoon.
- Light the Torch: Ensure the torch has enough fuel, and start with a low flame, holding it about 2-3 inches away from the sugar.
- Begin Torching: Use a circular motion, starting at the edges and moving towards the center. Torch the sugar evenly to a golden-brown color without burning.
- Achieve the Perfect Crust: Stop once the sugar is golden and crispy. Let it harden for a minute before serving.
- Serve Immediately: Serve the crème brûlée right after torching to ensure the sugar top remains crisp.
Common Torching Mistakes to Avoid
- Torch Too Close: Holding the torch too close can cause the sugar to burn. Solution: Keep the torch 2-3 inches away for even caramelization.
- Staying in One Spot: Holding the flame in one spot can burn sugar and leave uneven patches. Solution: Move the torch in circular motions for an even caramelization.
- Using Too Much Sugar: Piling on extra sugar leads to uneven burning. Solution: Use 1-2 teaspoons of sugar and ensure an even, thin layer.
- Wrong Sugar Type: Brown or powdered sugar may not caramelize well. Solution: Stick with granulated sugar for smooth, even caramelization.
- Over-Torching: Over-torching leads to burnt, bitter sugar. Solution: Stop once the sugar reaches a golden-brown color.
- Not Letting Sugar Settle: Don’t serve immediately after torching. Solution: Let the sugar cool for a minute to harden into a crisp layer.
- Low-Quality Torch: A weak flame makes it hard to caramelize evenly. Solution: Use a high-quality kitchen torch for consistent results.
How to Achieve the Perfect Crunch on Your Crème Brûlée Top
The Right Temperature for Torching
Getting the temperature right is essential for achieving the perfectly torched top of crème brûlée. Sugar caramelizes between 320°F (160°C) and 350°F (175°C), creating the golden, flavorful crust that defines this dessert. Here’s what happens when the temperature isn’t right:
- Overheating Sugar
Exceeding 350°F (175°C) burns the sugar, resulting in a bitter taste, darkened spots, and a brittle texture.- Solution: Hold the torch 2-3 inches away, move it in circular motions, and stop once the sugar turns golden.
- Underheating Sugar
Below 320°F (160°C), sugar doesn’t caramelize fully, leaving it grainy and soft.- Solution: Use a strong, consistent flame and allow enough time for the sugar to melt and bubble.
- Achieving Balance
Use a quality kitchen torch with adjustable settings, start with a low flame, and look for visual cues like bubbling, a light amber color, and the caramel aroma.
Achieving Even Sugar Distribution
An even sugar layer is key to the perfectly torched top of crème brûlée. Follow these tips to ensure smooth distribution:
- Use Granulated Sugar: Its fine crystals spread easily and caramelize evenly. Avoid coarse or powdered sugar.
- Measure Correctly: Use 1-2 teaspoons of sugar per ramekin for a thin, even layer without clumps.
- Spread and Smooth: Sprinkle sugar evenly, tilt the ramekin to spread it, and smooth it with the back of a spoon or your fingers.
- Remove Clumps and Gaps: Inspect the surface, breaking clumps and filling gaps for consistent coverage.
- Keep It Dry: Pat the custard surface dry before adding sugar to prevent patchy caramelization.
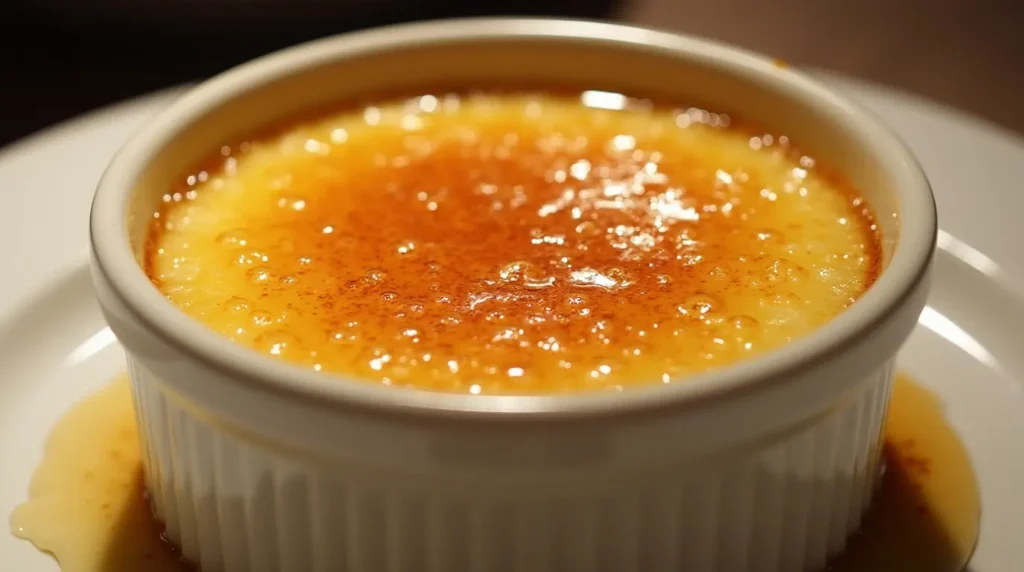
Checking for the Perfect Crack
The perfectly torched top of crème brûlée is defined by its iconic crack. Here’s how to know if it’s just right:
- Visual Test: Look for a smooth, glass-like surface with a golden-brown color, free of burnt spots or granules.
- Sound Test: Tap lightly with a spoon—it should emit a sharp, crisp sound.
- Spoon Test: The top should crack cleanly with moderate pressure, revealing the creamy custard beneath.
- Texture Test: The crust should be thin and slightly resistant before breaking, leaving delicate shards of caramelized sugar.
- Avoid Mistakes: Ensure the sugar layer isn’t too thick or under-torched to achieve the perfect balance of crunch and creaminess.
Serving and Storing Crème Brûlée with the Perfect Top
How to Serve Crème Brûlée for the Best Presentation
Serving crème brûlée with a clean, impressive appearance enhances its appeal. Follow these tips:
- Choose Elegant Ramekins: Use shallow, wide ramekins for balanced custard and caramelization.
- Clean the Edges: Wipe off stray sugar or custard for a polished look before torching.
- Perfect the Caramelized Top: Ensure the sugar layer is evenly browned and free of patches.
- Serve Immediately: Present shortly after torching to keep the sugar crust crisp.
- Add Garnishes: Use fresh berries, mint leaves, or edible flowers for a pop of color and sophistication.
- Use Decorative Plates: Place ramekins on clean plates with small napkins for a refined touch.
- Ensure Proper Temperature: Keep the custard cool and the sugar crust warm for the ideal experience.
Storing Crème Brûlée Without Losing the Perfect Top
To preserve the perfectly torched top of crème brûlée, follow these tips:
- Store Before Torching: Prepare the custard in advance, but caramelize the sugar just before serving to maintain the crunchy top.
- Refrigeration: Refrigerate the custard immediately after cooling and store in airtight containers to avoid moisture.
- Timeframe: Un-torched custard lasts up to 3 days, but once torched, it’s best consumed within 1-2 hours.
- Reviving the Top: If the sugar softens, sprinkle more sugar and re-torch for a fresh crack.
- Freezing Custard Only: Freeze the custard base (not the sugar) if needed, and thaw overnight before torching.
- Avoid Moisture: Prevent condensation and humidity, as moisture softens the caramelized top.
Garnishing for Added Appeal
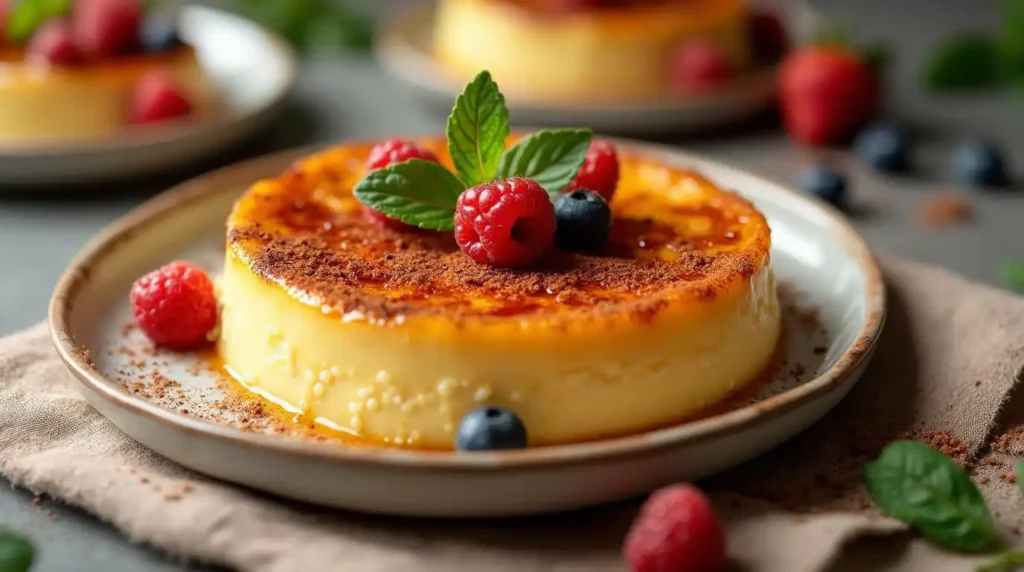
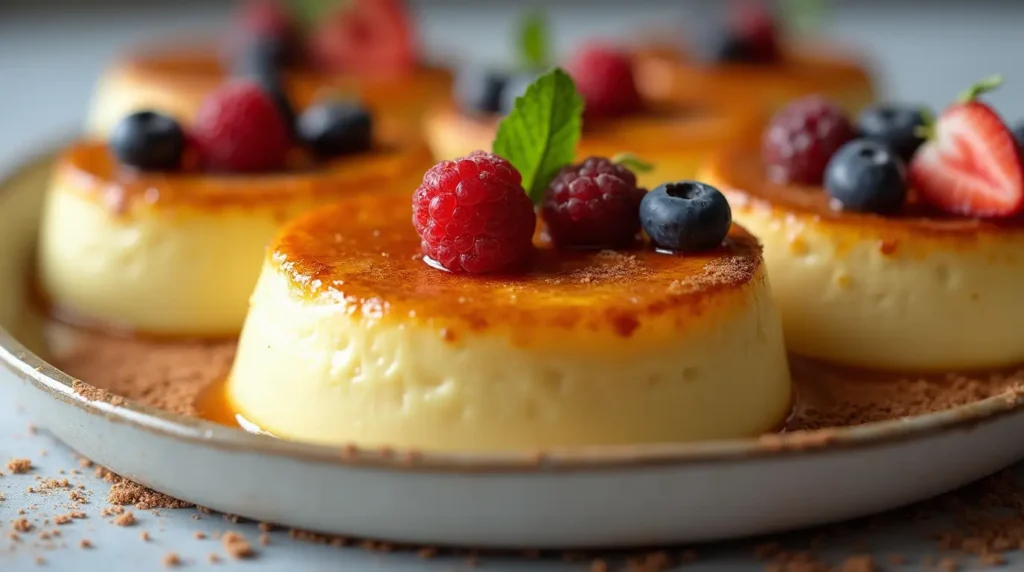
- Fresh Berries: Bright, tangy berries like raspberries or strawberries add color and freshness, complementing the rich custard.
- Fresh Mint: A sprig of mint offers a refreshing contrast and adds elegance to the presentation.
- Edible Flowers: Flowers like pansies or violets elevate the dish with a whimsical touch and vibrant color.
- Shaved Chocolate: Dark, milk, or white chocolate shavings add a luxurious flavor and texture contrast.
- Caramelized Nuts: Nuts like almonds or hazelnuts bring a crunchy, nutty sweetness to balance the richness of the custard.
- Cocoa Powder or Cinnamon: A light dusting of cocoa or cinnamon adds aromatic depth to the dessert.
- Whipped Cream: A dollop of whipped cream offers a creamy contrast to the custard and enhances the richness.
- Flavored Syrups or Fruit Coulis: A drizzle of fruit coulis or syrup adds an extra layer of flavor and artistic presentation.
FAQs
What is the best way to achieve a perfectly torched top of crème brûlée?
To achieve the perfect torched top, use an even layer of granulated sugar on the custard, then use a kitchen torch to evenly caramelize the sugar. Keep the flame moving in circular motions to avoid burning the sugar.
Can I make crème brûlée ahead of time and still keep the top crunchy?
It’s best to prepare the custard in advance and torch the sugar just before serving. If you store the crème brûlée with the torched top, the sugar may soften due to moisture, compromising the texture.
Why is granulated sugar preferred for the perfect crème brûlée crust?
Granulated sugar is ideal for caramelization because it melts evenly and quickly when exposed to heat. This results in a smooth, crunchy, and golden top.
Can I use brown sugar or other sweeteners for the top?
While granulated sugar works best, you can use brown sugar for a richer, deeper flavor. However, it may not caramelize as evenly and can result in a less crisp texture.
How do I know when the crème brûlée top has the perfect crack?
The perfect crack occurs when the sugar has been evenly caramelized and is solidified but not too hard. You should hear a satisfying “crack” when you tap it gently with a spoon, and the sugar should break cleanly without crumbling.
Conclusion
The top of crème brûlée is what truly makes this classic dessert stand out. It’s the result of a precise balance between sugar and heat, where the sugar undergoes caramelization to form that signature golden, crunchy layer. This perfect top is more than just visually stunning—it provides a satisfying contrast to the smooth, creamy custard beneath. Whether using granulated sugar for its ease of caramelization or experimenting with garnishes like fresh berries or whipped cream, achieving the perfect brûlée top is key to creating a memorable dessert. With the right techniques, you can master the art of torching and serve crème brûlée that delights the eyes and the palate every time.
How Would You Rate the Flavors?
There are no reviews yet. Be the first one to write one.